
Table of Contents
- What You'll Need Before You Start
- Measuring uPVC Windows for Blinds: Step-by-Step
- Inside Mount vs. Outside Mount: Which Is Right for Your Window?
- The Golden Rule: Measure Three Times
- Perfect Fit Blinds Installation Guide: What to Expect
- Troubleshooting Perfect Fit Blinds: Common Issues and Fixes
- Conclusion
- Frequently Asked Questions
Last Updated: September 25, 2026
What You'll Need Before You Start
Getting the measurements right is the difference between blinds that sit flush and blinds that rattle every time you open a window. This guide from Just Blinds walks you through how to measure for perfect fit blinds 2026, step by step, so your made-to-measure order arrives ready to install.
Perfect fit blinds are window coverings that clip directly onto the window frame or bead, with no drilling and no brackets screwed into the wall. They sit inside the window recess and move with the window itself.
Before you pick up a tape measure, gather these:
- A metal tape measure (fabric tapes stretch and give false readings)
- A pencil and paper, or a notes app
- A step stool if your windows are high
- A torch for checking recess depth on dull days
Measure in millimetres, never inches. Blind manufacturers build to the nearest millimetre, and a 3mm error is enough to cause a poor fit. If you're unsure whether your windows suit this style, the British Blind and Shutter Association guidance on window coverings is a useful starting point before you order.
Measuring uPVC Windows for Blinds: Step-by-Step
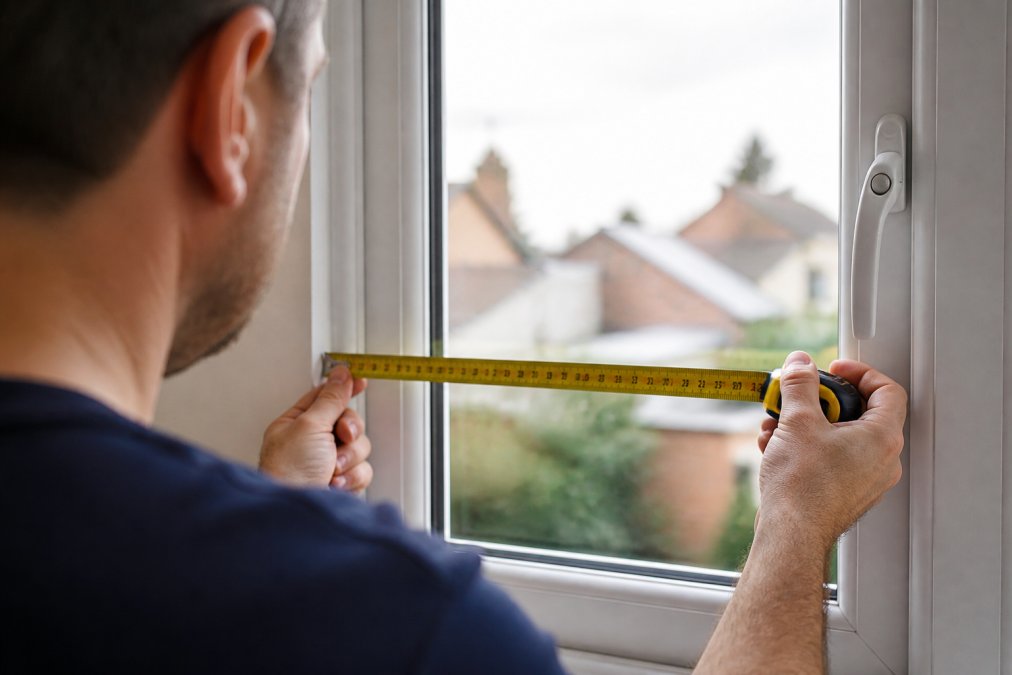
Measuring uPVC windows for blinds comes down to three numbers: width, height and depth. Take each one in three places, then use the smallest figure.
This is where most DIY measuring goes wrong. People measure once, in the middle, and assume the window is square. It rarely is.
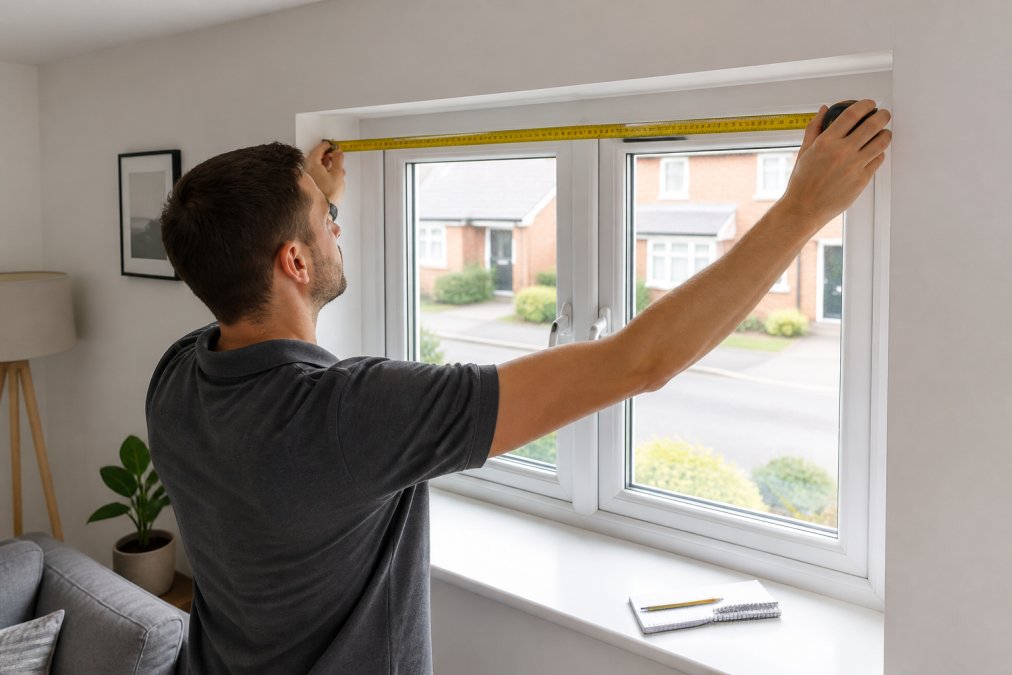
Measuring the Recess Width
Measure the recess width at the top, middle and bottom of the window opening. Write all three numbers down.
Then use the smallest of the three. That's your width. If the top reads 1200mm, the middle 1198mm and the bottom 1195mm, you order to 1195mm.
Measuring the Recess Height
Do the same for height, but measure on the left, in the middle and on the right. Again, the smallest figure wins.
Check whether you're measuring into the window reveal or just to the edge of the frame.
Checking Recess Depth and Obstructions
For perfect fit blinds, you need enough recess depth for the blind housing and its brackets. Check for:
- Window handles that stick out into the recess
- Trickle vents along the top of the frame
- Beading that varies in thickness around the window
Inside Mount vs. Outside Mount: Which Is Right for Your Window?
Inside mount sits the blind within the window recess. Outside mount fixes it to the wall or frame, covering more of the window.
Choose outside mount only when:
- The recess is too shallow for the blind housing
- You need to hide damaged or uneven window frames
- You want maximum light blocking with no gaps at the edges
| Mount Type | Best For | Blind Clearance | Drilling Needed |
|---|---|---|---|
| Inside mount | uPVC windows, flush finish | Needs recess depth | No |
| Outside mount | Shallow recesses, damaged frames | Covers frame edge | Usually yes |
The Golden Rule: Measure Three Times
The golden rule of measuring is simple: measure three times, and check your numbers against each other before you order.
Here's a checklist for ordering made-to-measure blinds:
- Width measured at top, middle and bottom
- Height measured at left, middle and right
- Depth checked against the deepest obstruction
- All figures written in millimetres
- Smallest figure used for both width and height
- Numbers read back aloud before ordering
Perfect Fit Blinds Installation Guide: What to Expect
A perfect fit blinds installation guide usually describes a job that takes 15 to 30 minutes per window, with no tools beyond a step stool.
Pack of 3 face fix brackets for →
What to expect on the day:
- Clear the windowsill and remove any old blinds
- Wipe down the window frame and bead
- Clip the brackets onto the frame at the marked points
- Slot the headrail into the brackets
- Test the tilt and raise mechanism
- Adjust the tension if the blind feels loose
Troubleshooting Perfect Fit Blinds: Common Issues and Fixes
Most perfect fit problems trace back to one of four causes: a non-square window, an obstruction that was not measured, brackets that are not seated, or a headrail that was ordered to the wrong dimension. Work through them in that order, it is the fastest diagnostic path.
Start Here: Is the Window Actually Square?
This is the single most common cause of a poor fit, and most guides skip it. Older uPVC frames bow, settle and twist. A window can be 5-10mm out of square and look perfectly fine to the eye.
What to do about it:
- Order to the smallest width and height. This guarantees the blind will fit inside the tightest point of the recess.
- Expect a small gap on the wider side. On a window 8mm out of square, you may see a 4-5mm gap down one edge. This is normal and usually only visible up close.
- Use packing shims behind the bracket on the wider side to close the gap and keep the headrail level. Thin plastic shims are widely available and cost pence.
- If the gap is unacceptable, an outside mount will hide the irregularity entirely, at the cost of the flush finish.
Blind Will Not Clip In
Nine times out of ten the bracket is not fully seated on the bead. Check, in order:
- Is the bracket the right way round? Most are handed and will only clip one way.
- Is it pressed fully home? You should feel and hear a distinct click.
- Is the bead clean? Dust and old sealant stop brackets seating properly.
- Is the bead the profile the bracket was designed for? Beading profiles differ between window systems, and a bracket for one will not grip another.
Blind Sags, Droops or Will Not Stay Taut
On vertical perfect fit blinds, sagging usually means worn or missing components rather than a measuring error:
- Worn hangers on vertical blinds cause individual vanes to droop. Replacement hangers are inexpensive and swap in minutes.
- Missing bottom weights let the fabric hang loose. Check the bottom rail for the weight and replace if absent.
- Tensioned cords on some systems can slacken over time. Most have an adjuster at the headrail.
Handle Collides With the Blind
This is a measuring error, not a fault. Options:
- Swap to a bracket that adds clearance from the frame. Our Pack of 3 face fix brackets for vertical blinds (£5.99) can provide extra clearance from window handles on uPVC windows.
- Reposition the blind slightly higher in the recess if depth allows.
- Replace the handle with a slimmer profile, a common fix on older uPVC windows where the original handle is unusually deep.
Light Creeping Around the Edges
This is normal on any inside mount and is not a defect. For total darkness:
- Combine a blackout fabric with a tight inside fit.
- Check for gaps at the sides and top; a few millimetres is enough to let light through.
- Consider side channels where the system supports them.
Smart and Motorised Blinds: What to Check First
If a motorised perfect fit blind will not operate or feels stiff, the cause is usually one of:
- Battery not seated or charged. Check the battery tube is fully inserted and the contacts are clean.
- Headrail binding against the recess. If the blind was measured too tight, the motor strains against the frame. This is a depth or width error, not a motor fault.
- Pairing or signal issues. Most smart blinds need re-pairing after a battery change; check the app or remote before assuming a hardware fault.
- Obstruction in the fabric stack. A pleated blind that will not fully raise may be catching on a trickle vent or handle.
The three measurements that matter most are width, height and usable depth. Get those right in millimetres, check the window for square, and almost every other problem disappears.
Conclusion
Measuring for perfect fit blinds rewards patience. Take three readings, work in millimetres, and check for obstructions before you order. Do that and the fitting itself takes minutes.
Frequently Asked Questions
How do you measure for perfect fit blinds?
Measure the width of the window recess at the top, middle, and bottom, then use the smallest measurement. Measure the height at the left, middle, and right, again using the smallest. Always measure in millimetres for accuracy. Check the recess depth to ensure it is at least 40mm for the blind housing. If you are measuring uPVC windows for blinds, ensure the frame is clean and free from obstructions like handles.
What are the disadvantages of perfect fit blinds?
Perfect fit blinds are designed for uPVC windows and may not suit all window types, such as timber frames or tilt-and-turn windows. They can be more expensive than standard blinds due to the custom frame. However, they offer a no-drill solution and a professional finish, making them ideal for many homes.
My Perfect Fit blinds aren't staying up. What can I do to fix this?
If your perfect fit blinds are not staying up, check that the brackets are correctly seated in the window beading. Sometimes the beading may be too narrow or damaged. Ensure the frame is clean and free from debris. If the brackets are loose, you may need to adjust or replace them. For vertical blinds, consider using our Pack of 3 face fix brackets for vertical blinds for extra clearance. If issues persist, consult the fitting guide or contact the supplier.
Do I need to measure the glass or the frame for perfect fit blinds?
For perfect fit blinds, you measure the window recess (the opening), not the glass itself. The blinds sit within the frame, so accurate recess measurements are critical. Measure the width and height of the recess in millimetres, taking multiple points to account for any unevenness. If you are unsure, our step-by-step guide above covers measuring uPVC windows for blinds in detail.
