
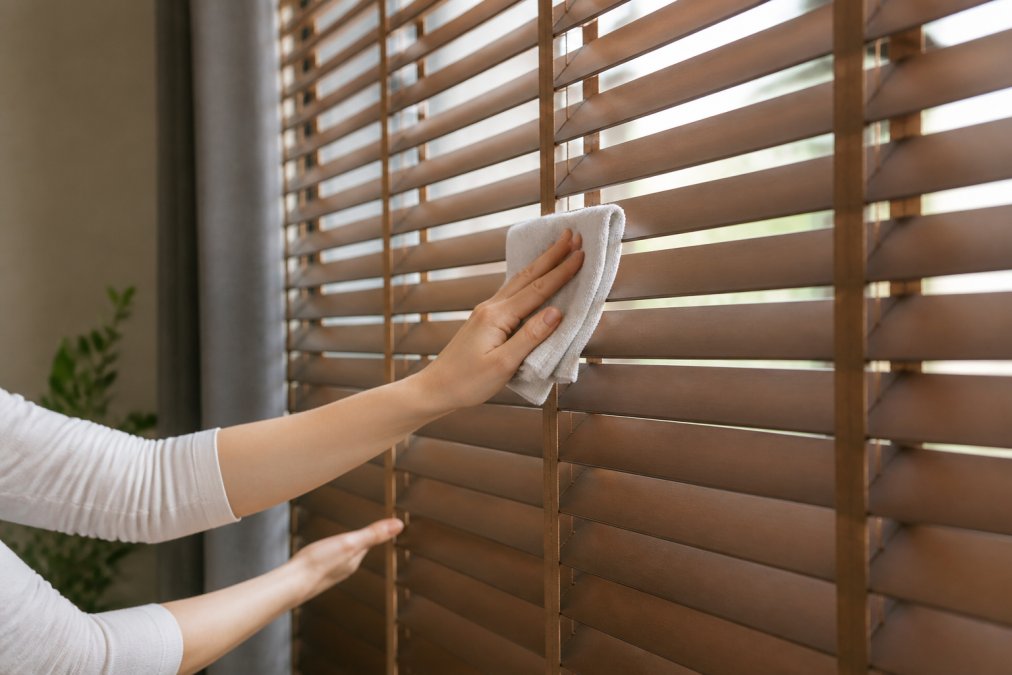
Table of Contents
- What You'll Need to Clean Faux Wood Blinds
- Weekly Dusting to Keep Faux Wood Blinds Clean
- The Best Cleaning Solution for Faux Wood Blinds
- How to Clean Blind Slats Without Taking Them Down
- How to Remove Grease from Faux Wood Blinds
- Deep Cleaning Faux Wood Blinds: Strings, Tapes, and Valances
- Drying Faux Wood Blinds Without Water Spots
- Common Mistakes to Avoid When Cleaning Faux Wood Blinds
- Frequently Asked Questions
Last Updated: September 11, 2026
What You'll Need to Clean Faux Wood Blinds
Faux wood blinds stay sharp because their PVC composite slats resist moisture in a way real timber never can: no waxing, no oiling, no fear of a damp cloth. Faux wood Venetian blinds are a popular choice, and understanding cleaning habits can help extend their life.

Gather the right kit first, the wrong tools do more damage than dirt.
- A microfiber cloth or two (one dry, one damp)
- A soft brush or clean paintbrush for the slats
- A vacuum with a brush attachment
- Lukewarm water in a bowl
- A few drops of mild detergent or washing-up liquid
- A lint-free cloth for drying
Skip anything labelled abrasive. Scouring pads, cream cleaners and harsh solvents dull the finish and leave permanent scratch marks on the slats. According to NHS guidance on household cleaning products, mild soap and water remains the safest default for most non-porous household surfaces, and faux wood is no exception.
Weekly Dusting to Keep Faux Wood Blinds Clean
Dust is the enemy you can beat in under two minutes a week. A weekly pass stops grime bonding to the slats, so people who clean faux wood blinds properly rarely need a deep clean.
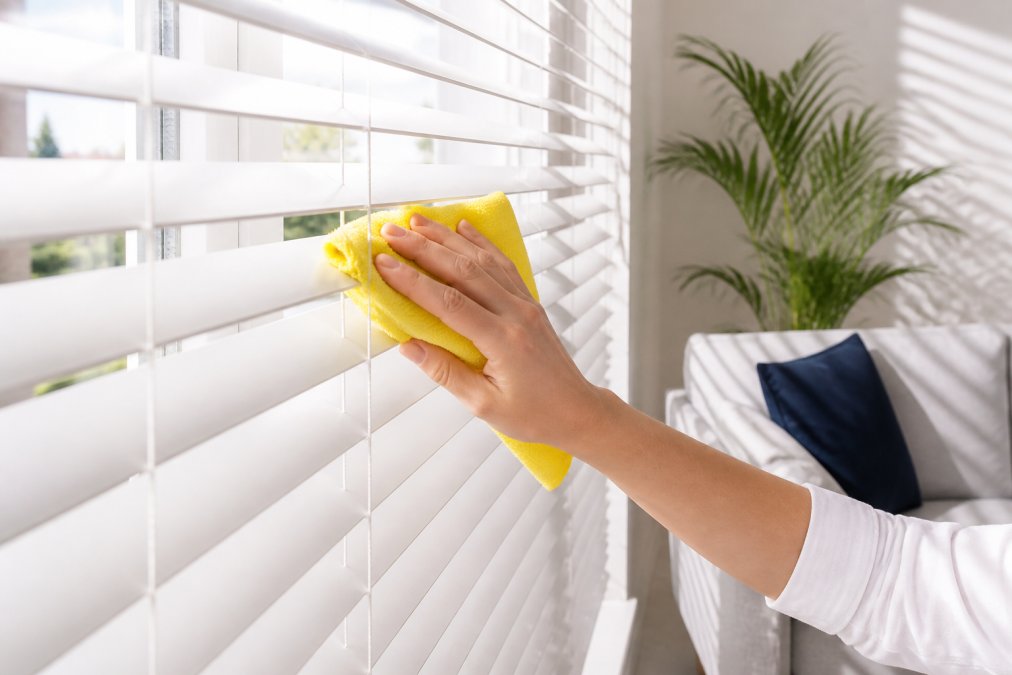
The two-minute routine
- Tilt the slats flat (closed) so you wipe a continuous surface rather than chasing gaps.
- Wrap a dry microfiber cloth over two fingers and wipe across each slat, top to bottom, so anything you knock loose lands on slats you have not cleaned yet.
- Turn the cloth to a clean face every few slats, a grey cloth just smears dust back on.
- Finish by running a soft brush or vacuum brush attachment down the cloth tapes, where dust collects in the weave.
Microfiber's split fibres grab particles through static, so you remove dust rather than redistribute it. Use a dry cloth weekly; save the damp one for the monthly wipe.
Which tool for which job
| Tool | Best for | Watch out for |
|---|---|---|
| Dry microfiber cloth | Everyday slat dusting | Becomes ineffective once saturated, swap or rinse |
| Vacuum brush attachment (low suction) | Slat gaps, cloth tapes, valance | High suction can pull cords and lift tape edges |
| Soft paintbrush or blind duster | Reaching between slats without removing them | Bristles must be soft; stiff ones scratch the finish |
| Dryer sheet | Reducing static so dust stops returning | Use lightly, residue can leave a film on satin finishes |
A vacuum brush attachment on the lowest suction clears the gaps between slats where a cloth cannot reach. Keep the head moving, holding it still against a cord or tape edge is how tape starts to lift.
Troubleshooting the dusting problems people actually hit
Dust keeps coming back within a day. That is static, not dirt. Wipe each slat lightly with a used dryer sheet, or use a slightly dampened microfiber cloth and dry immediately, both neutralise the charge.
Pet hair woven into the cloth tapes. Do not rub it, that drives hair deeper. Vacuum the tape first, then pick out the rest with a barely damp cloth wrapped around a finger, working down the tape.
Dust caked into the corners where slats meet the tape. A soft paintbrush worked gently into the corner loosens it, then vacuum it away. Do this before damp wiping, or you will turn dry dust into streaks.
A grey film that will not wipe off. That is usually a build-up of cooking vapour or furniture polish residue, not dust. It needs the detergent wipe in the next section.
How often should you dust faux wood blinds? Weekly in living areas and bedrooms; twice weekly in kitchens, where cooking steam and grease bond with dust into a sticky film. Homes with pets or windows onto busy roads often need the kitchen frequency throughout.
The Best Cleaning Solution for Faux Wood Blinds
The best cleaning solution for faux wood blinds is a few drops of mild detergent in lukewarm water. Faux wood is non-porous, so there is nothing to feed or protect, and stronger chemicals only risk the finish.
Mix roughly a teaspoon of washing-up liquid into a bowl of lukewarm water. Dampen a microfiber cloth, wring it out until barely wet, then wipe each slat from the centre outward. Follow immediately with a dry lint-free cloth.
The finish on faux wood is a coating, not the material itself. Abrasive cleaners strip it, and once it is gone the slat looks chalky and holds dirt. Avoid:
- Cream cleaners and scouring powders
- Bleach or ammonia-based sprays
- Solvent cleaners, white spirit or nail polish remover
- Furniture polish, which leaves an oily film that attracts dust
For everyday marks, plain lukewarm water on a damp cloth handles almost everything. Save the detergent mix for greasy build-up.
How to Clean Blind Slats Without Taking Them Down
You can clean blind slats without taking them down, and for routine maintenance you should. Removing a blind risks bending headrail brackets and stretching cords, so leave it mounted unless it genuinely needs soaking.
Work through the blind in place:
- Lower the blind fully and tilt the slats flat.
- Dust both sides with a dry microfiber cloth or vacuum brush.
- Wipe each slat with a barely damp cloth, top to bottom.
- Dry each slat as you go with a lint-free cloth.
- Tilt the slats the other way and repeat on the reverse face.
- Clean the cords, tapes and bottom rail last.
Removal only makes sense for a full deep clean in a kitchen or bathroom, where grease and soap film have built up everywhere. Even then, take it down carefully, lay it flat on a protected surface, and never submerge it. professional cleaning methods.
How to Remove Grease from Faux Wood Blinds
Grease needs a degreasing step, not just a damp wipe. Cooking vapour settles on the slats and bonds with dust into a sticky film that plain water spreads rather than lifts.
Mix a few drops of washing-up liquid in lukewarm water, it is formulated to break down cooking oils. Dampen a microfiber cloth, wring it out well, and wipe each slat gently back and forth. Do not scrub hard; let the detergent work.
For stubborn patches, hold the damp cloth against the slat for a few seconds to soften the film, then wipe. Work one slat at a time and dry immediately, grease residue plus standing water leaves streaks.
Do not reach for a stronger cleaner if the first pass fails, give the mild solution a second pass. Two gentle wipes beat one aggressive one and protect the finish.
For kitchens, our Dream Stone White Faux Wood Venetian Blinds are built for exactly this environment, with a smooth satin-matt surface that wipes clean without trapping grease in a texture.
Deep Cleaning Faux Wood Blinds: Strings, Tapes, and Valances
Strings, cloth tapes and the valance are the most neglected parts, and the first to fail if cleaned badly. They are fabric and cord, not PVC, so they need a lighter touch.
Cords and strings: wrap a microfiber cloth around the cord and slide it down, pinching gently. Do not pull it taut or yank sideways, that wears the cord where it passes through the slats. If heavily soiled, a barely damp cloth is the limit; never wet them through.
Cloth tapes: these vertical strips hold the most dust. Use a soft brush or vacuum brush attachment on low suction, working down the tape rather than across it. For marks, dab with a damp cloth and blot dry, rubbing spreads the stain into the weave.
Valance and bottom rail: wipe with a damp cloth and dry straight away. The bottom rail sits closest to windowsills and collects the most grime, so it often needs a second pass.
Avoid soaking any of these. Damp is fine; wet is not.
Drying Faux Wood Blinds Without Water Spots
Water spots are not dirt, they are the minerals, mostly calcium and magnesium, left behind when a droplet evaporates. The water disappears; the minerals stay as a pale ring. The fix is better drying, not a better cleaner, which is why hard-water areas see far more spotting.
Dry as you clean, not after
The habit that prevents spotting is drying each slat immediately after wiping it, rather than waiting until the whole blind is done. Once a droplet evaporates, you are removing a mineral deposit, not moisture.
- Use a separate dry lint-free cloth, not the damp one you just cleaned with.
- Wipe along the length of each slat in one pass, turning to a dry section of cloth as you go.
- Pay extra attention to the bottom rail and the underside of slats, where droplets collect and sit longest.
- After the full blind is wiped, tilt the slats open and let air circulate for ten to fifteen minutes, with a window open if the weather allows.
If you have hard water
Hard water causes stubborn spotting, and wiping with tap water only adds new minerals. Two options work:
- Final buff with a dry microfiber cloth. Do this before any moisture has a chance to evaporate. It removes the last film of water while it is still liquid.
- Switch the final wipe to distilled or filtered water. Distilled water carries no minerals, so there is nothing left behind when it dries. Use it only for the final pass; the cleaning pass can use tap water.
If spots have formed, a cloth dampened with distilled water usually lifts them, since there are no new minerals to leave a fresh mark. For set-in deposits, hold the damp cloth against the spot for a few seconds, then wipe and dry immediately.
What not to do
Never use a hairdryer, fan heater or direct heat to speed drying. PVC slats soften with heat, and a warped slat will not sit flat, showing as gaps when closed, which no cleaning will fix. Air dry at room temperature and keep blinds clear of radiators.
Also avoid leaving the blind fully closed and damp. Trapped moisture between slats feeds mould in the cloth tapes and rots the cords over time.
Troubleshooting damaged slats
If a slat is already scratched, chalky or peeling, stop wiping it with anything damp. A damaged finish is porous, so water and detergent get under the coating and lift more of it.
- Scratched or scuffed finish: wipe with a dry cloth only, and accept the mark. Trying to polish it out with an abrasive makes it worse.
- Chalky, dull patches: the protective coating has worn through. These slats hold dirt faster and will not come clean, they are candidates for replacement rather than repeated cleaning.
- Peeling or flaking edges: do not clean over them. Water gets behind the peel and accelerates it.
- Warped slat: caused by heat or prolonged moisture, not by cleaning. It cannot be straightened; replace the slat.
This is the part most guides skip. A single damaged slat does not mean a new blind, Just Blinds supplies replacement blind slats compatible with most rails, including Hilarys, Argos and Dunelm, so a scratched or warped slat is a small fix rather than a full refit.
Common Mistakes to Avoid When Cleaning Faux Wood Blinds
Most damage to faux wood blinds comes from cleaning, not wear. These errors are avoidable.
- Soaking the slats. Faux wood resists moisture, but the cords, tapes and tilt mechanism do not. Water in the headrail is the leading cause of premature failure.
- Using abrasive cleaners. Scouring pads and cream cleaners scratch the finish and leave a dull, dirt-attracting surface.
- Cleaning in direct sunlight. Heat softens the slats and cleaning solutions dry too fast, leaving streaks.
- Pulling cords taut while cleaning. This stretches the cord and wears the route through the slats.
- Skipping the weekly dust. Grime bonds to slats over time and becomes far harder to remove later.
- Warping from heat. Keep blinds away from radiators and never dry them with a hairdryer.
A simple schedule keeps faux wood blinds in good order:
| Task | Frequency | Time Needed |
|---|---|---|
| Dust with microfiber cloth | Weekly | 2 minutes |
| Vacuum brush attachment | Fortnightly | 3 minutes |
| Damp wipe with mild detergent | Monthly | 10 minutes |
| Deep clean cords and tapes | Every 3 months | 20 minutes |
| Check slats for warping or damage | Every 6 months | 5 minutes |
If a slat does crack or warp, you do not need to replace the whole blind. Just Blinds supplies replacement blind slats compatible with most rails, including Hilarys, Argos and Dunelm, so a single damaged slat is a small fix rather than a full refit.
Keeping faux wood blinds clean comes down to consistency: a weekly dust, a monthly damp wipe, and a deep clean of the cords and tapes a few times a year. Just Blinds manufactures made-to-measure faux wood Venetian blinds in moisture-resistant composite PVC, with free delivery on orders over £175 and replacement slats that fit most existing rails. Get started with Just Blinds for blinds designed to handle kitchens, bathrooms and busy family rooms with ease.
Frequently Asked Questions
What is the easiest way to clean fake wood blinds?
The easiest method is weekly dusting with a microfiber cloth or a vacuum brush attachment on low suction. For a deeper clean, wipe each slat with a damp cloth dipped in a mild detergent solution, then dry immediately with a lint-free cloth. This routine keeps faux wood blinds looking fresh without removing them from the window.
Can you use washing-up liquid to clean faux wood blinds?
Yes, a few drops of mild washing-up liquid in lukewarm water is a safe and effective cleaning solution for faux wood blinds. Avoid abrasive cleaners, bleach, or solvents, as these can damage the finish. After wiping, always dry the slats to prevent water spots and streaks.
How often should you dust faux wood blinds?
Dust faux wood blinds every one to two weeks to prevent dust and grime build-up. In kitchens or bathrooms, where grease and moisture are common, a weekly wipe-down with a damp cloth is recommended. Regular maintenance reduces the need for deep cleaning and extends the life of the blinds.
Is it safe to use a vacuum cleaner on faux wood blinds?
Yes, a vacuum cleaner with a soft brush attachment on the lowest suction setting is safe for faux wood blinds. It removes dust from slats, strings, and the bottom rail quickly. Avoid using a hard nozzle or high suction, which can scratch the slats or bend the tilt mechanism.
